|
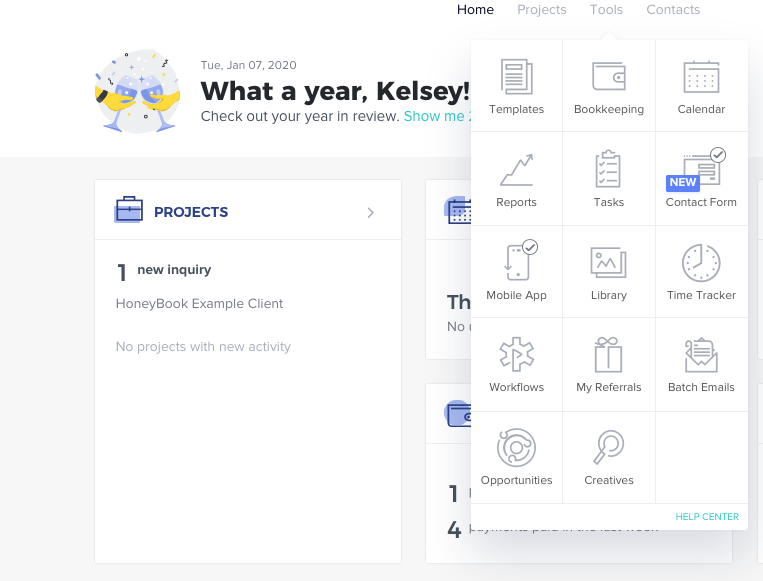
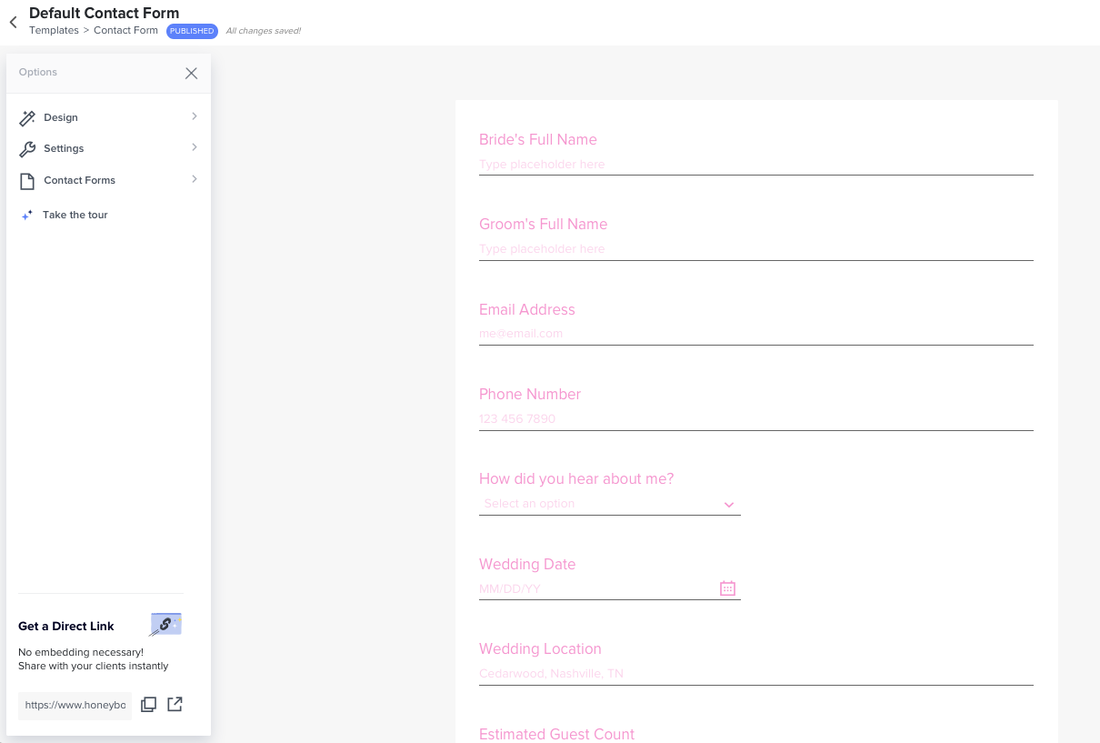
Read time: 12 min When I first started my small business, client management consisted of Facebook messages, Instagram DM's and endless email threads. I was on scroll patrol through DM's searching for that specific request from a client or to figure out who asked me about what and if I had invoiced them yet. Please tell me you can relate? This was SO time consuming... Especially with the amount of meme's and giveaways my friends send me; it was like trying to find a black cat in a coal mine! To add fuel to the fire, I was accepting payments via PayPal, Venmo and personal checks mailed to my house. As you can probably tell, my client "organization" was literally all over the place. After spending half of my time sifting through emails and invoices and less time actually creating, I realized there had to be a better way. Enter HoneyBook! HoneyBook is a client management tool that organizes my client projects from the very first inquiry, to the final product. I can send questionnaires, proposals, invoices, contracts and mood boards all in one easy place. It even has a built in Time Tracker which helps me log my hours for every project to make sure I'm actually making a profit. If you can't tell, the features of HoneyBook are endless and have seriously saved my life (read: sanity) as a small business owner. If this is enough to convince you, then go ahead and sign up for a FREE 7 day trial AND receive $200 off when you commit to HoneyBook using the link below: Still need more proof in the pudding? Click the "read more" link below! I'll happily walk you through how I use HoneyBook for my wedding stationery clients from start to finish. step one: the inquiryAll of my potential clients inquire directly through my website. This is a great first step in getting all the details together and in one place. Now, if you don't have a website yet, thats okay! You can copy and paste the Contact Form direct link to your client via text, email, social media, etc.. The first order of business is to actually create your Contact/Inquiry Form in HoneyBook. Create your Contact Form by:
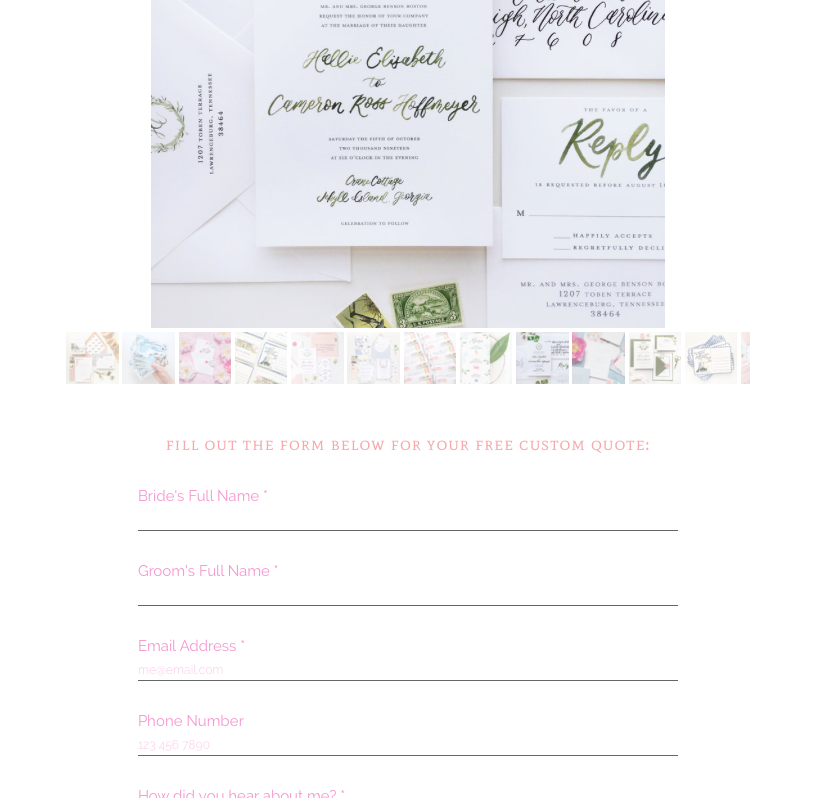
Once you have created your Contact form, embed the link straight onto your website page (or just copy and paste the direct link to your client). It's that easy! Once the client has filled out and submitted their inquiry, you'll immediately get a notification from HoneyBook. Yep! All of that information is now auto-populated and a client profile is in your database. SO, why do you need all of this info? It helps YOU put together together their completely customized quote and mood board based on what they have shared with you! step two: the brochureAfter the client has submitted the inquiry and they are into the database, I create a customized quote, called a "Brochure". Think of it like you would any other business Brochure. This is a virtual pamphlet which outlines your services and cost. You can use an existing template or start from scratch! I'd suggest creating a basic template that includes your most common services:
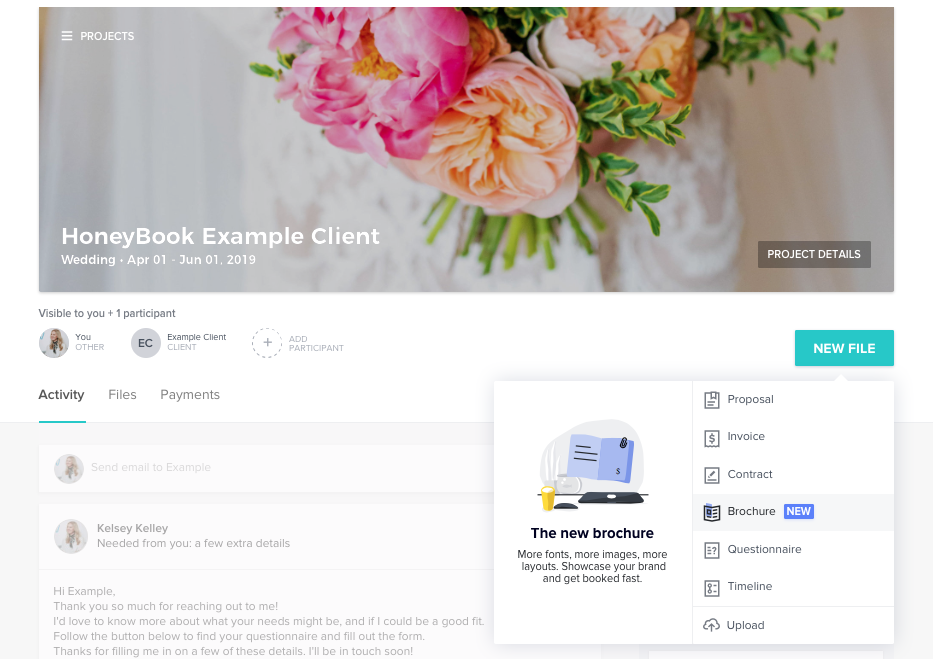
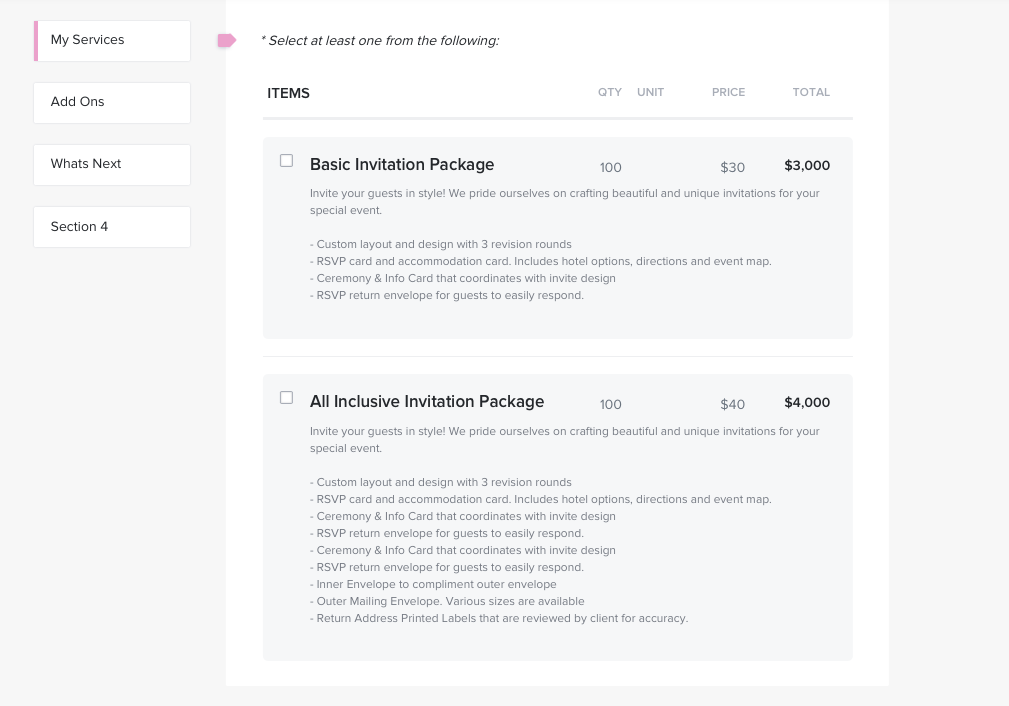
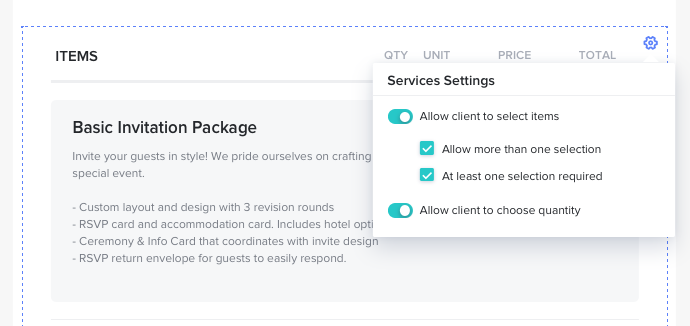
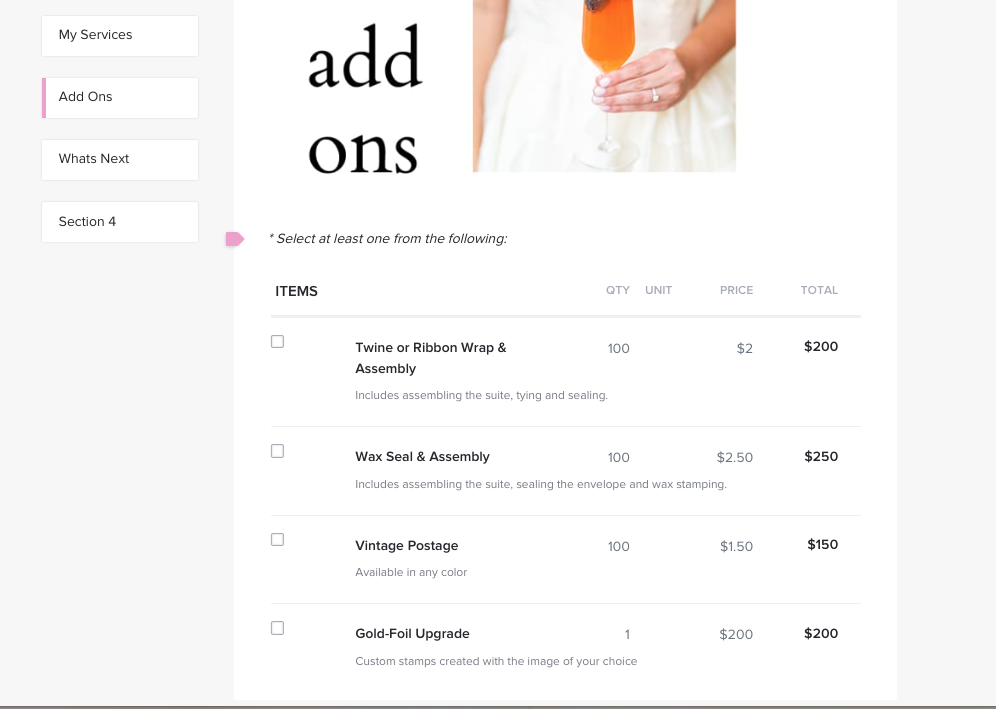
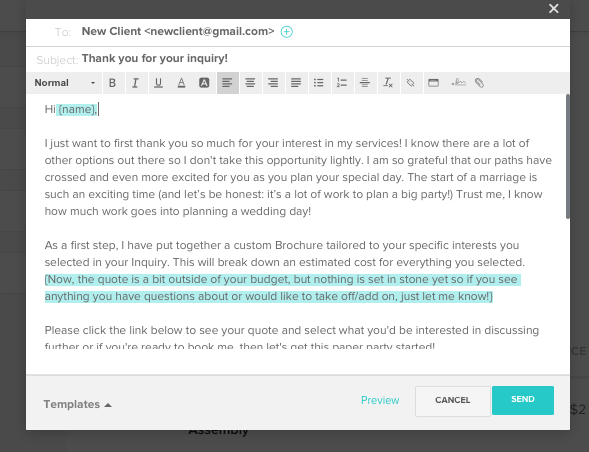
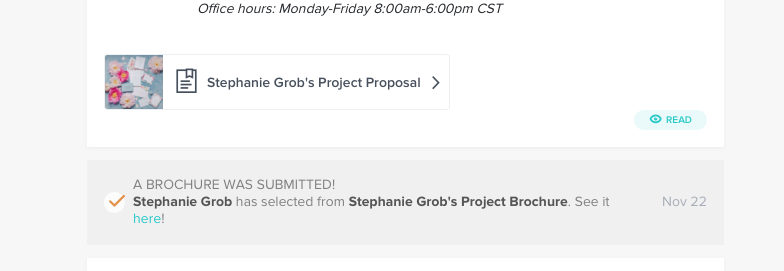
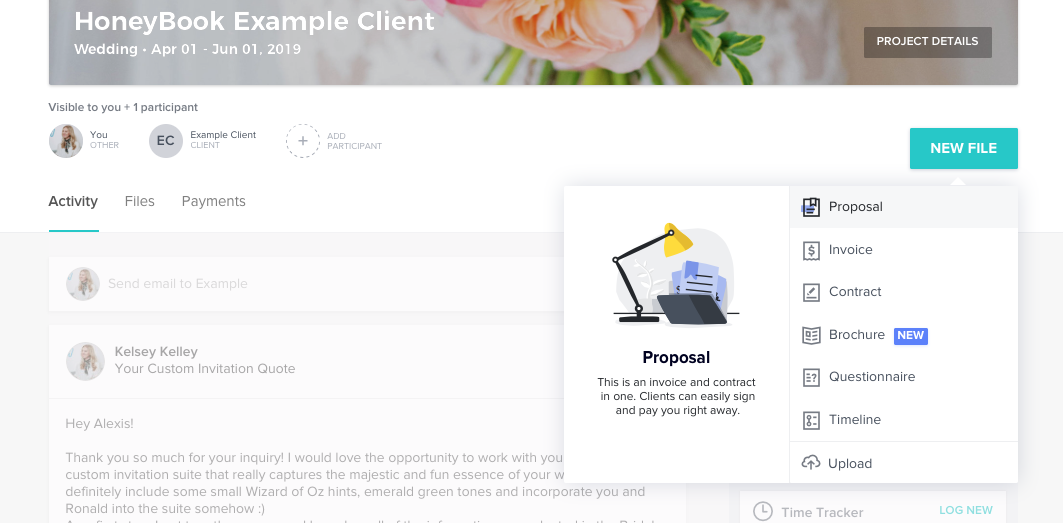
Below is the client portal. Click on "New File", then "Brochure". In the Brochure, the client is able to select what they are interested in discussing further and/or booking! It's super streamlined and breaks down the price of every service they selected. This is very helpful if I need to adjust the quantity, the price or add/remove services to fit within their budget. I can easily adjust and resend the revised Brochure. For the Add-On services like Wax Seals, Ribbon, Assembly, etc. I have an "Add-ons" section just below "My Services". This is where I list all of the bells and whistles my client selected in their inquiry. Once this is finished, I send them a personalized email with a link to the Brochure. This keeps all communication and forms organized neatly in their portal! I have most of my emails as Templates because this saves so much time typing out the general verbiage for these steps. I click the appropriate "Step" and all the work is done for me. 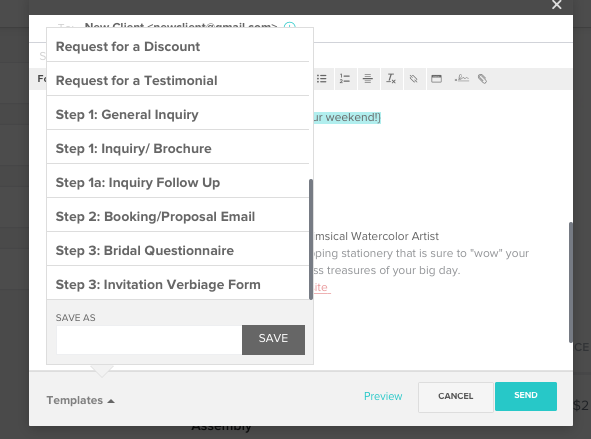 However, I still like to keep my emails personal to my client. Nobody likes sounding like a robot (sorry Alexa...) So, the Templates have highlighted text areas that need personalizing. I add in some specific details to the couple and their story. step three: proposalOnce the client has selected the services they are interested in via their Brochure, HoneyBook will automatically create a Proposal. This is the proposal of services as well as the invoice and contract. *I am manually creating the Proposal for this blog post, but HoneyBook will do all the work for you in the case of an actual client!* The Proposal consists of:
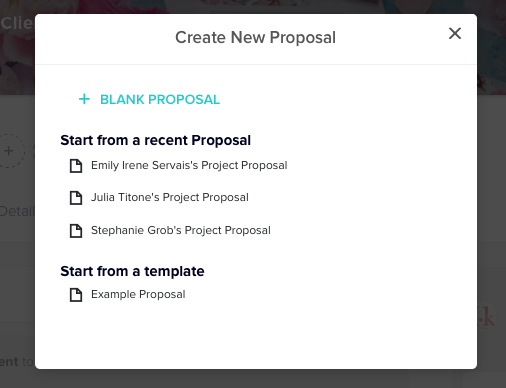
You have the option of starting with a Blank Proposal, or selecting past Proposals which you can edit to fit the current client. You can also create basic Templates which save time. Below is the Client Portal. Click on "New File", then "Proposal". Below is the:
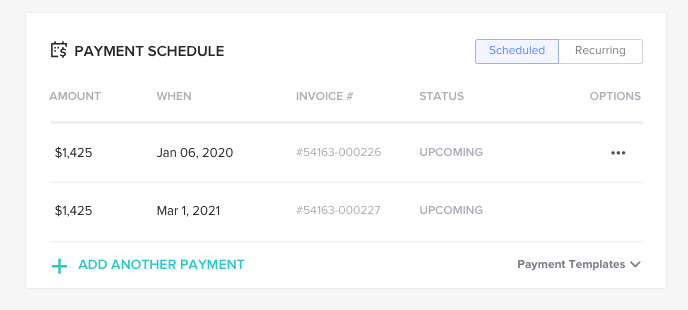
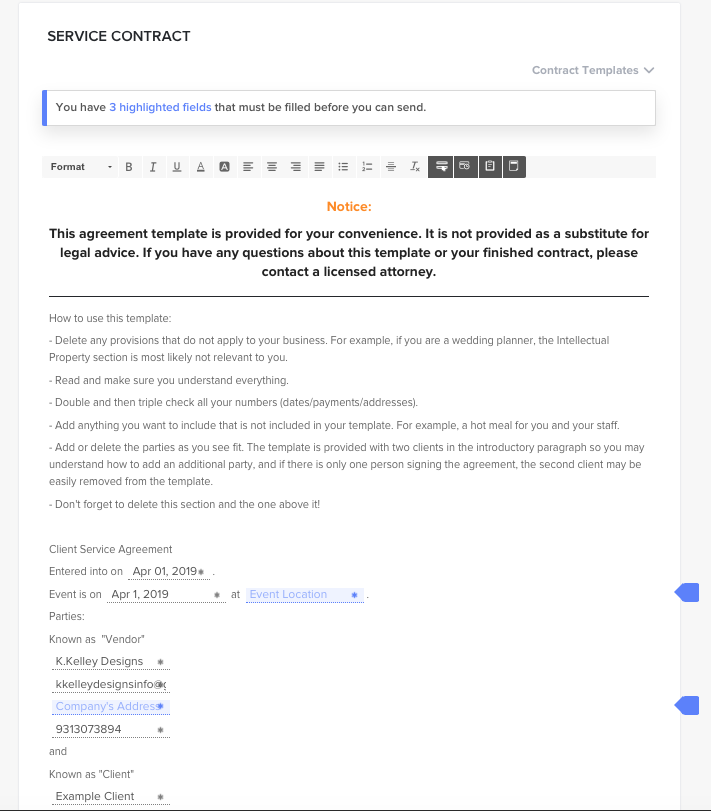
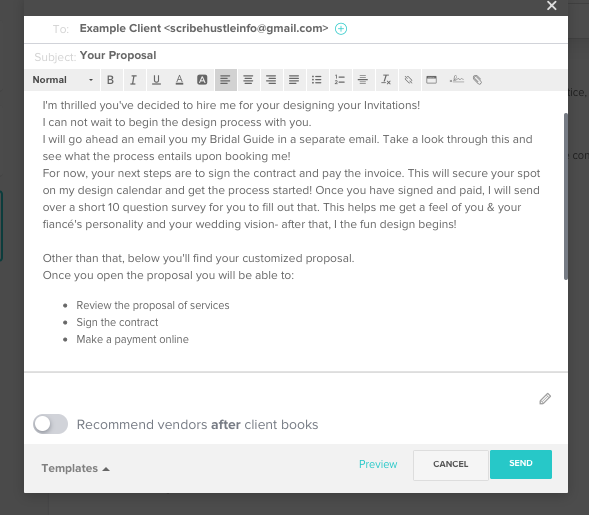
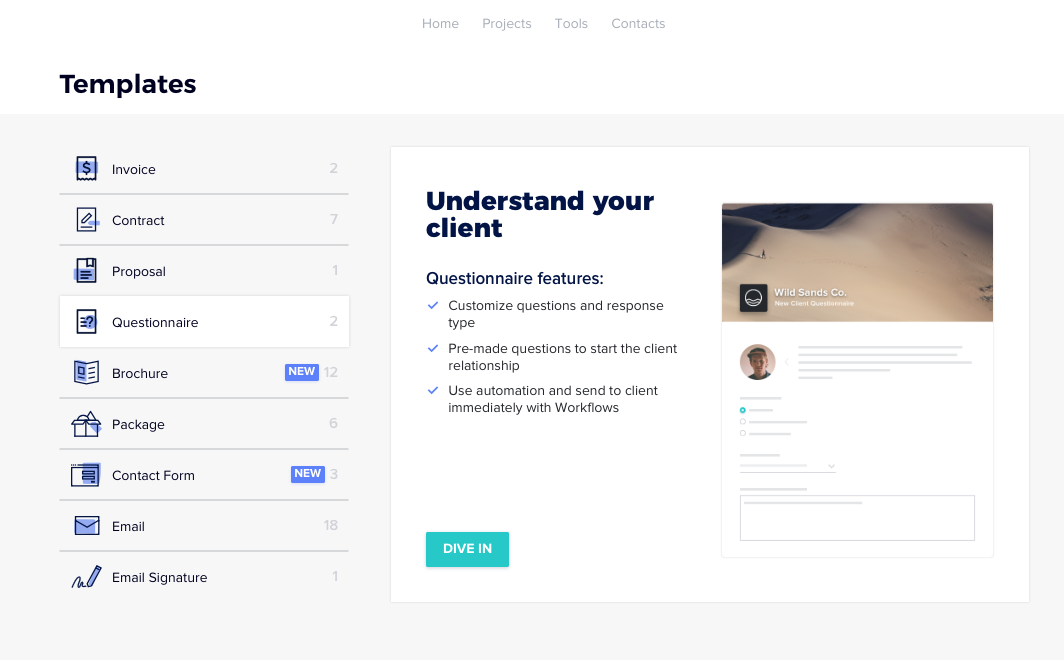
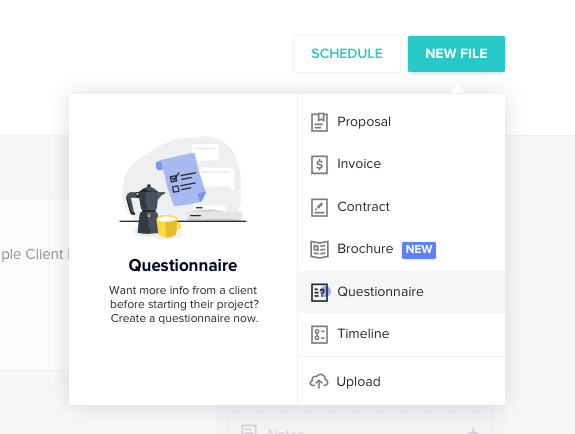
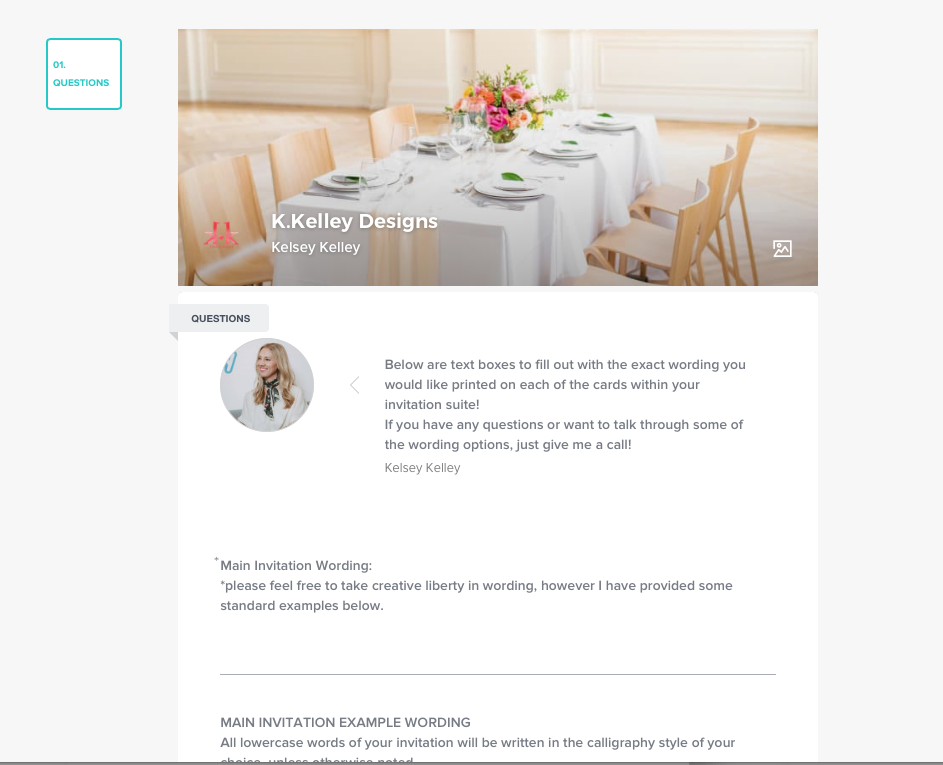
This is how it will look! It is still 100% customizable at this point for any of those last minute changes. *I also assure my client we can add on any additional suites later, if needed.* 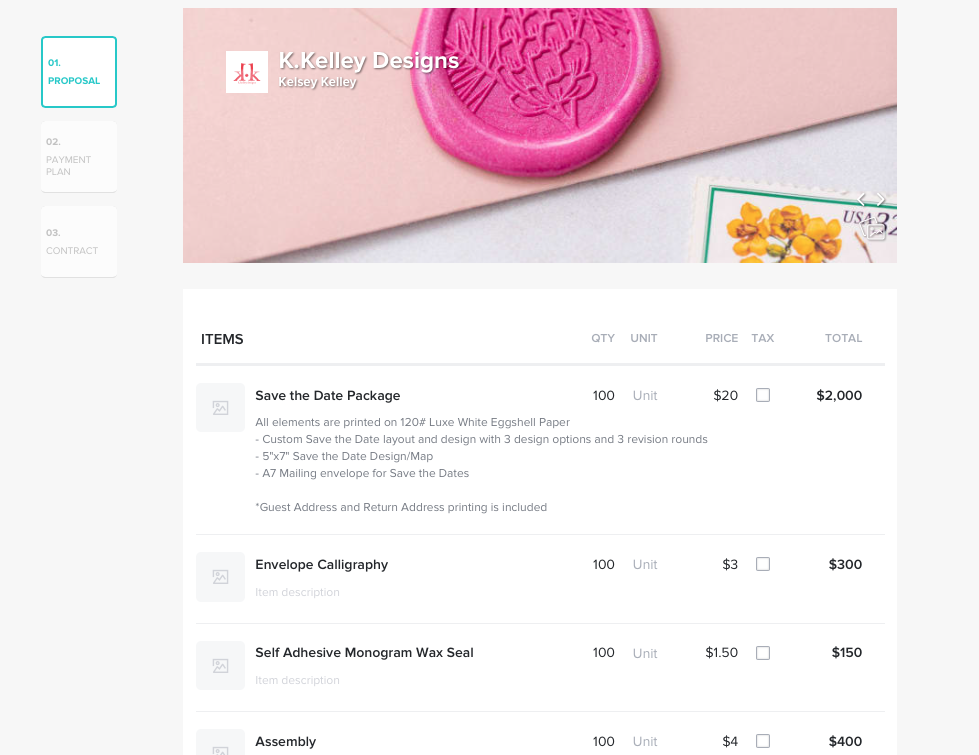 To be honest, when I found out that HoneyBook had built in Contract templates, it was a HUGE reason why I joined. These contracts are completely customizable but also have such amazing professional structure to begin with. There isn't much I have to adjust in these templates and I feel 100% safe and protected. There are blue bullet points within the contract to let you know where you'll need to personalize information for the client, as well as highlighted text that needs to be input. Once you have confirmed that your invoice and payment plan are accurate, and you have input the information needed into the contract, you are ready to send the Proposal! I send my client a short email (I use the "Step 2: Proposal" Template) and they will be given a link to booking! Yay! Now, let the design fun begin. *You heard that right, I don't do any actual designing until the contract is signed & invoice is paid* step four: the questionnaireAfter I have been paid & booked, I send the Questionnaires to the client! HoneyBook also has built in Questionnaire forms which help gather all of the additional info that isn't shared in the initial inquiry. Questionnaires are located in the "Tools" header by selecting "Templates". When sending the Questionnaire, you have the option of starting from scratch or selecting from a template! Below is the Client Portal. Click on "New File", then "Questionnaire". I send two Questionnaires:
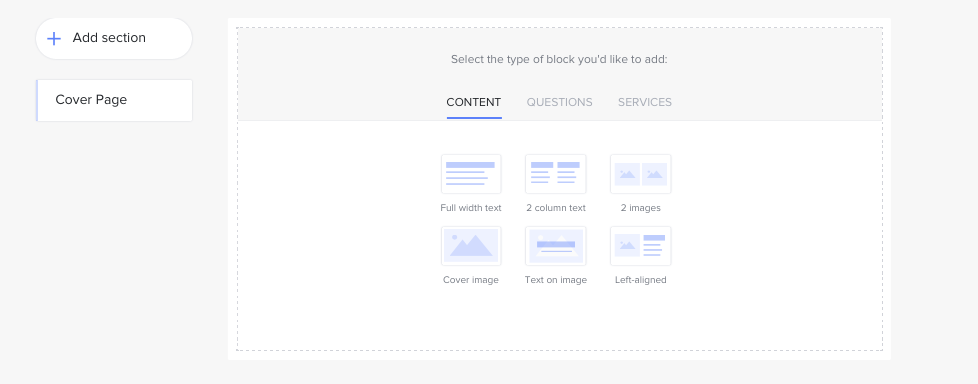
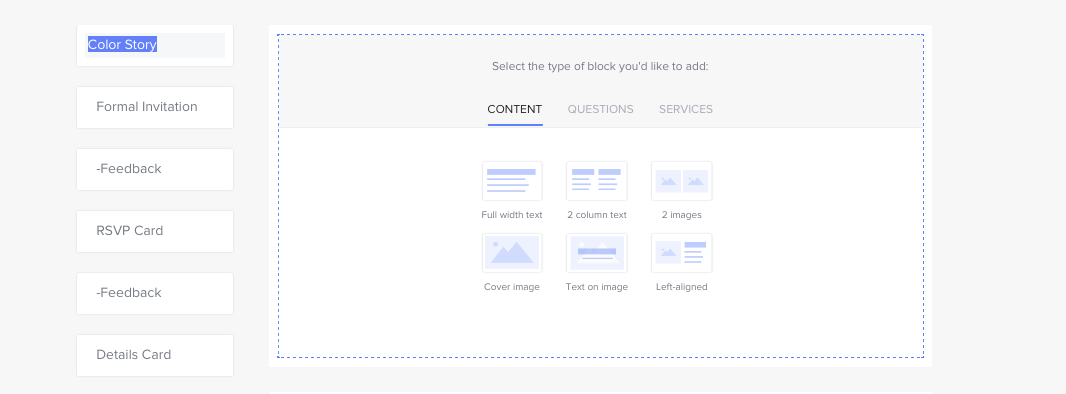
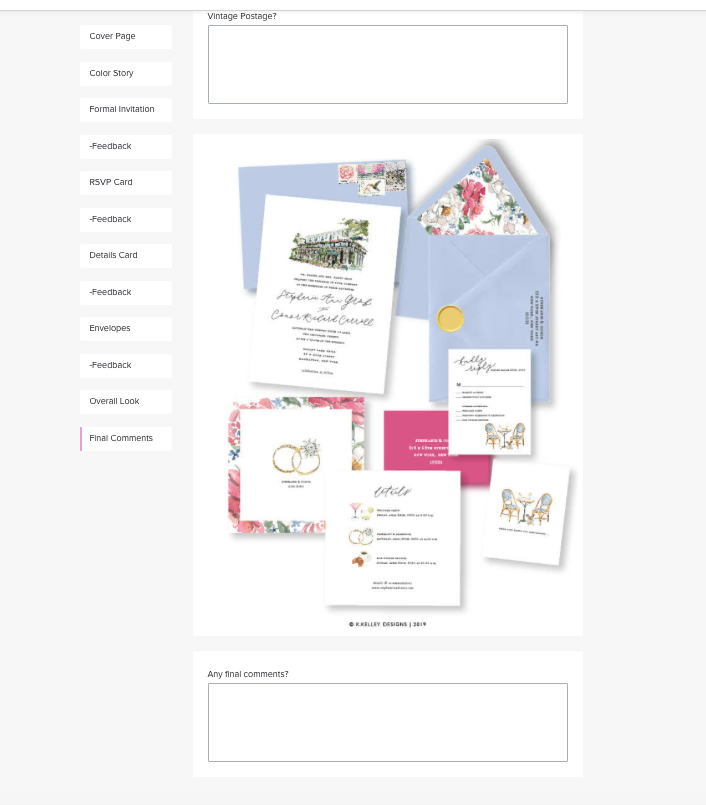
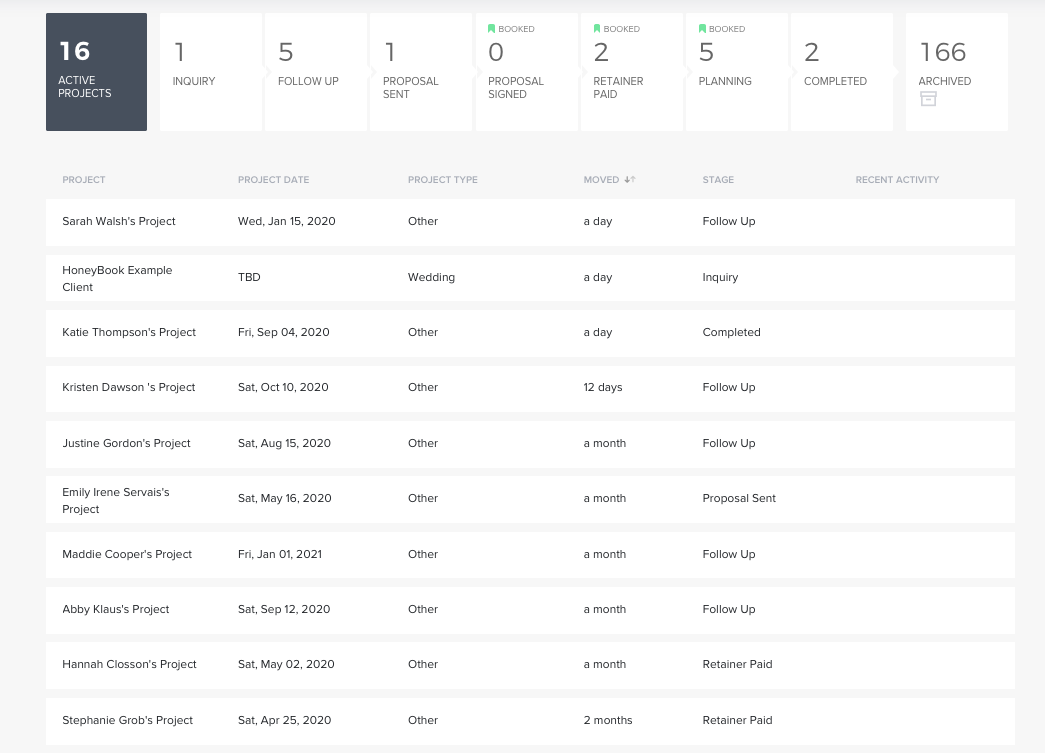
The Bridal Questionnaire is a short 10 question "survey" which just helps me to get to know my couple a little more! These questions provide great feedback for me to refer to throughout the entire design process. I want to be sure that I am staying true to the vision of my couple and representing their styles in their wedding stationery. 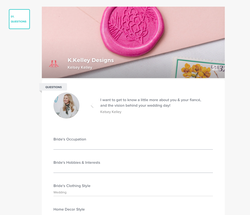 The Verbiage Form is a form where they input all the verbiage for their suite. (Formal invitation wording, RSVP "reply by" date & wording, Details Card/Accommodations wording, etc..) step five: the mood boardI create my client Mood Board via Adobe Illustrator, save it as a multi-page JPEG and upload into a Brochure in HoneyBook. You will create a new Mood Board Brochure for each client. I label each section like Formal Invite, RSVP, etc. and upload each page of my look book separately. I also insert a "question" box below each page for client feedback. I love that HoneyBook has the client feedback built in, so I am able to see the commentary directly with each page. step six: the follow upAnother organizational feature I love about HoneyBook is the Landing Page. This shows what's in your pipeline and you can assign a "stage" for each client. The Landing Page breaks down the steps and gives me a better visual of where I'm at for each project. Once the invitations have been shipped out or mailed by me, I move the project to "completed". The design process is officially finished! *cue the confetti* As you can tell, I absolutely love using HoneyBook for all of my client management organization. That's right, I don't just use this for my Invitation Design Clients. I also use HoneyBook for my custom portrait commissions and any freelance inquiries I receive through the general Contact form on my website! There is so much more available through HoneyBook that I didn't cover so I encourage you to sign up for their FREE 7 day trial and play around with this software yourself to see what works best for you. Click here to sign up for a free 7 day trial & save $200!The legal mumbo jumbo: Yes, I'm an affiliate of HoneyBook! I may receive a commission if you use one of the links in this post to sign up. BUT I only share about things that I honestly love and believe in. I genuinely enjoy using HoneyBook and would never recommend a service that I don't find useful and trust. Plus, this client management software has made my life so much easier and I want that for everyone :)
1 Comment
1/10/2020 11:06:45 pm
This was so informative! I have been thinking a lot about the inquiry - client management process recently. Thank you Kelsey!
Reply
Your comment will be posted after it is approved.
Leave a Reply. |
welcome to the blog!Hey there, I'm Kelsey and so glad you've stopped by my blog! Grab a cup of coffee & make yourself at home. The buttons below will help you find anything you need - Thanks for stopping by! ArchivesCategories |


 RSS Feed